The embroidery industry in India is growing rapidly, driven by increasing demand for customized fashion, uniforms, branding, and designer clothing. From small boutiques to large garment manufacturers, embroidery has become an essential part of the textile and fashion industry.If you are planning to start your own embroidery business, this guide will help you understand the complete process—from choosing the right machine to finding customers and building a profitable business.
India has one of the world’s largest textile and garment markets, creating continuous demand for embroidery work. Today, customers prefer customized designs, personalized clothing, and premium finishing, making embroidery services highly valuable. Embroidery is widely used in:
- Boutique and designer wear
- School and college uniforms
- Corporate branding and logos
- Bridal collections
- Kids wear and personalized gifts
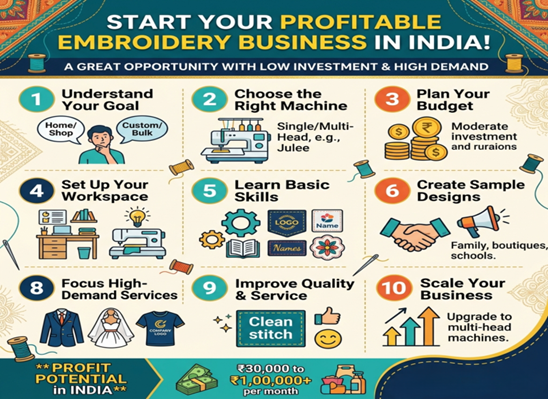
Why Embroidery Business is a Great Opportunity in India
With low start up investment and strong demand, embroidery has become one of the most profitable small business opportunities in India.
Step 1: Understand Your Business Goal
Before starting, clearly define your business model.Ask yourself:
- Will you work from home or open a shop?
- Will you focus on custom orders or bulk production?
- Who is your target audience?
You can start small and expand gradually as your business grows.Many beginners start with local boutique orders and later move into large-scale production.
Step 2: Choose the Right Embroidery Machine
Selecting the right machine is one of the most important decisions in your business journey.
Types of Embroidery Machines
Single Head Embroidery Machine
Best for:
- Beginners
- Home businesses
- Small-scale production
These machines are affordable, easy to use, and ideal for customized work.
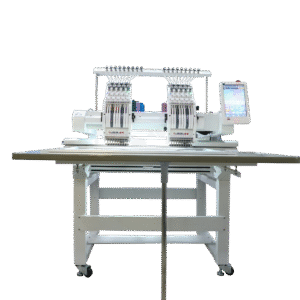
Multi Head Embroidery Machine
Best for:
- Bulk orders
- Garment factories
- Large-scale businesses
They increase production speed and efficiency.
Reliable machines like Julee embroidery machines are widely preferred for their performance, durability, and beginner-friendly operation.
Step 3: Plan Your Budget
One of the biggest advantages of embroidery business is that it can be started with a moderate investment.
Your budget may include:
- Embroidery machine
- Threads and accessories
- Computer/software
- Workspace setup
- Marketing expenses
Beginners can even start from home to reduce initial costs.
Step 4: Set Up Your Workspace
You don’t need a large commercial space initially.
A clean and organized workspace with:
- Proper lighting
- Stable power supply
- Ventilation
- Storage for threads and materials
is enough to start your embroidery business efficiently.
Step 5: Learn Basic Embroidery Skills
Even with modern computerized machines, basic knowledge is important.
Learn:
- Machine operation
- Thread handling
- Design placement
- Fabric types
- Basic troubleshooting
Many embroidery machine suppliers, including Julee, provide training and technical guidance for beginners.
Step 6: Create Sample Designs
Before approaching customers, build a small portfolio.
Create samples such as:
- Logo embroidery
- Name embroidery
- Floral patterns
- Uniform designs
Take high-quality photos of your work for marketing purposes.
Good presentation increases customer trust.
Step 7: Find Your First Customers
Marketing plays a major role in growing your embroidery business.
Start with:
- Friends and family
- Local boutiques
- Tailoring shops
- Schools and colleges
- Small businesses
You can also promote your work through:
- WhatsApp Business
- Facebook pages
- Google Business Profile
Social media is highly effective for embroidery businesses because visuals attract customers quickly.
Step 8: Focus on High-Demand Services
Some embroidery services are always in demand and offer better profit margins.
Popular services include:
- School uniform logos
- Company branding
- Bridal embroidery
- Kids name embroidery
- Boutique customization
Customized products usually generate higher profits than standard designs.
Step 9: Improve Quality & Customer Service
Success in embroidery business depends heavily on quality and customer satisfaction.
Focus on:
- Clean finishing
- Accurate stitching
- Timely delivery
- Professional communication
Happy customers often become repeat clients and recommend your services to others.
Step 10: Scale Your Business
Once you start receiving regular orders, you can expand by:
- Upgrading to multi-head machines
- Hiring staff
- Taking bulk garment orders
- Offering online services
Investing in high-performance machines helps support long-term business growth.
Profit Potential in Embroidery Business
The embroidery business offers strong profit margins because:
- Material costs are relatively low
- Customized work adds premium value
- Bulk orders increase income significantly
Many embroidery business owners in India earn anywhere between:
- ₹30,000 to ₹1,00,000+ per month
depending on order volume and service quality.
Common Mistakes to Avoid
❌ Buying the wrong machine
❌ Ignoring customer service
❌ Poor design quality
❌ Lack of marketing
❌ Underpricing your work
Consistency and professionalism are key to long-term success.
✅ Final Thoughts
Starting an embroidery business in India is a smart opportunity for anyone interested in creativity, fashion, and entrepreneurship. With the right machine, proper planning, and consistent effort, you can turn embroidery into a profitable and scalable business.
Whether you start from home or plan a larger setup, success depends on learning continuously, delivering quality work, and building strong customer relationships.
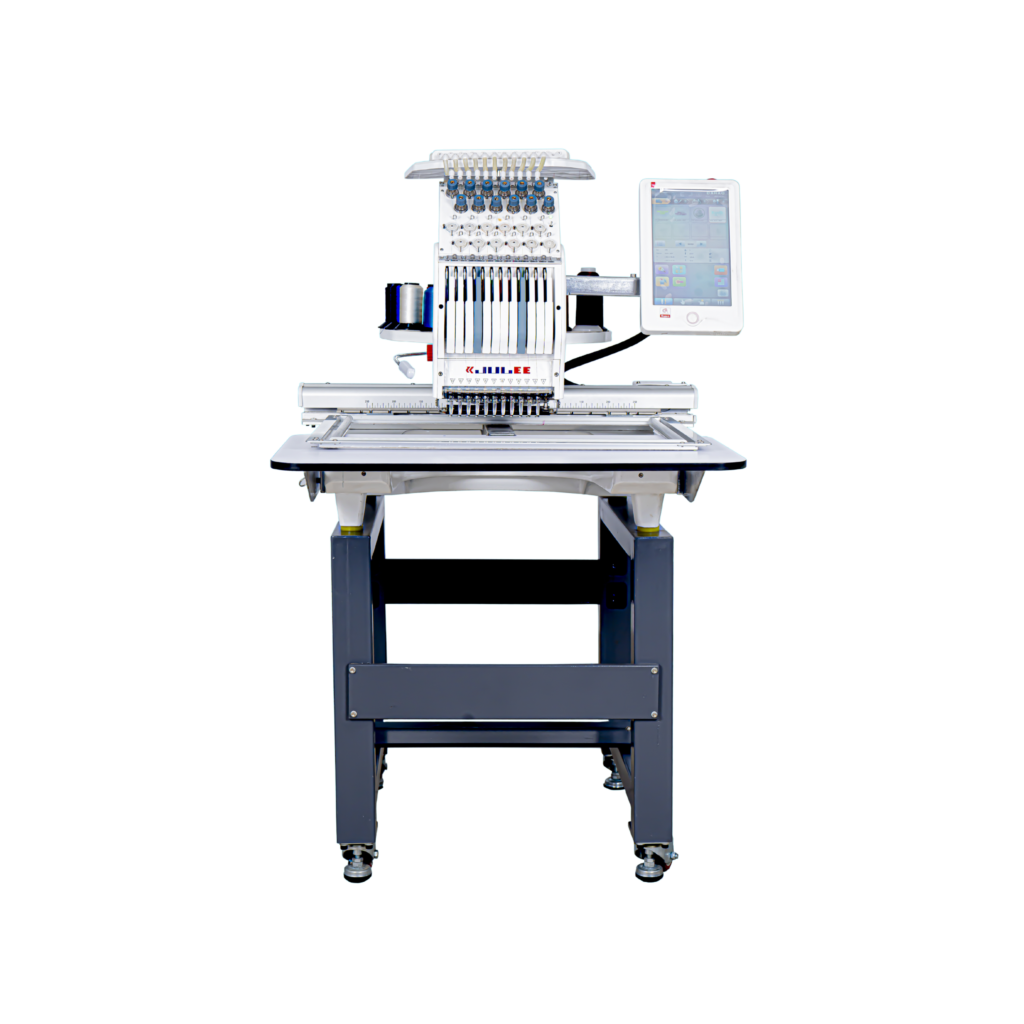
Top Model
Single Head
MId Model
Multi Head
FAQ
1. Is embroidery business profitable in India?
Yes, embroidery business is profitable in India due to the increasing demand for customized clothing, uniforms, boutique designs, and logo embroidery. With the right machine and proper marketing, it can generate steady income.
2. How much investment is needed to start an embroidery business?
The investment depends on the type of embroidery machine and business scale. Beginners can start with a single head embroidery machine and basic setup at a moderate investment.
3. Which embroidery machine is best for beginners?
Single head computerized embroidery machines are best for beginners because they are easy to operate, affordable, and suitable for small-scale production.
4.Is training necessary before starting an embroidery business?
Basic training is highly recommended because it helps you understand machine handling, troubleshooting, and design techniques more efficiently.
Single Head and Multi ead Embroidery Machines – JULEE
Proudly powered by WordPress

Proudly powered by WordPress