
A New India, A New Kind of Woman Entrepreneur
I am 25 years old living in Tirupur, South India and my first understanding of this hard work did not come from a book. Isn’t it? so it came from watching many women across my region and my neighbours bend over sewing machines late at night. My close aunties carefully finished blouse borders and returned small rooms into quiet workshops where they stitched thread by thread. They never called themselves entrepreneurship instead, it was simply responsibility, survival and hope.
But something has changed.
In India, today is moving forward with confidence, and so are its women. In 2025 embroidery is no longer seen as just a traditional skill passed from one generation to another. It has become a serious business opportunity and source of financial Independence, the door way to self-respect. So what once stayed hidden inside homes is now stepping into the light as the professions with pride.
Across the South Indian’s major cities, Women are courageously choosing to begin again. Some start from a single room in their homes, some open small workshops, some build boutique brands with their own names stitched into every piece. There is a quiet revolution happening that one where women choose machines is not just a work, but it stands on their own feet.
The demand is real and growing, customized clothing, bridal embroidery, uniforms, ethnic wear and designer pieces are no longer limited to big cities. Customers want personal stories behind their garments. They want craftsmanship. They want authenticity. and women are ready to deliver.
Yet, with this new freedom comes a very personal question – one that carries both excitement and fear:
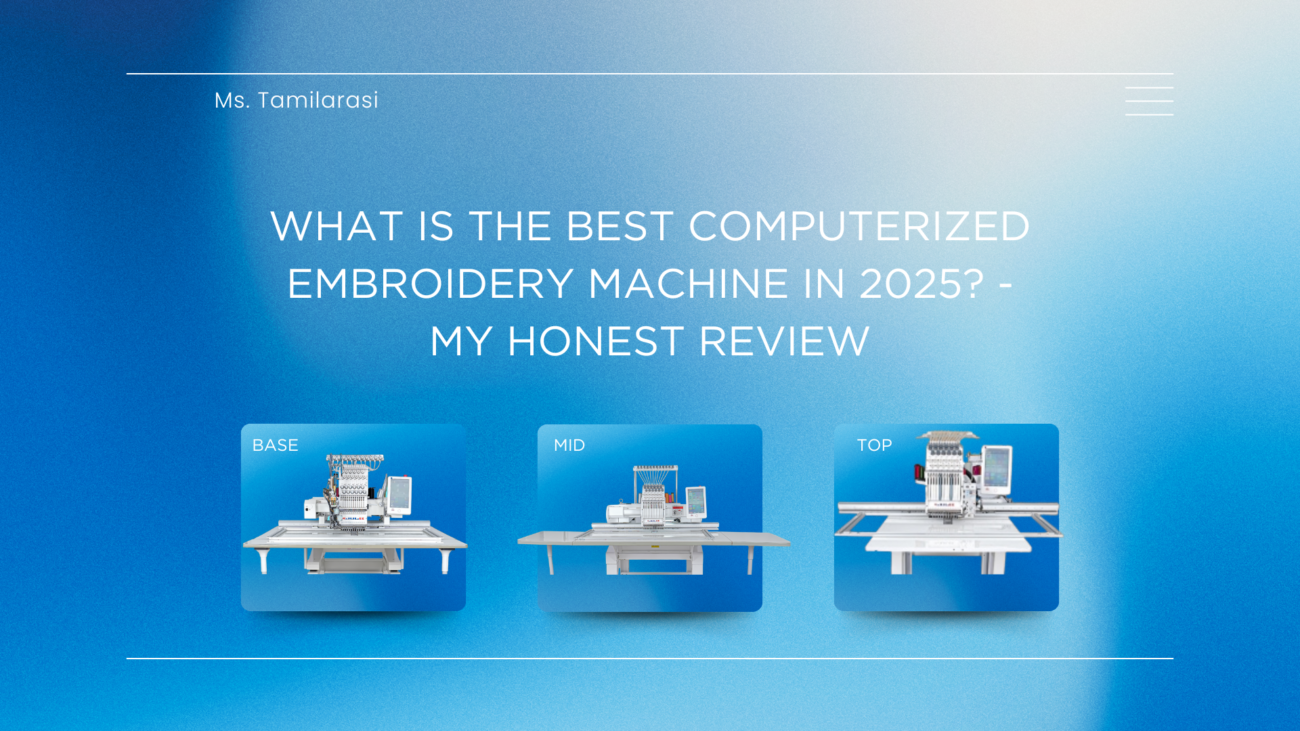
“What is the best computerised embroidery machine in 2025 for someone like me?”
Someone who dreams big but starts small.
Someone who wants stability, not risk.
Someone who believes in growing step by step.
The question is not only about technology it is about trust, confidence, and choosing the right beginning. Because for many women in my region today, an embroidery machine is not just a purchase, it is a first step towards their independence, their dignity, and future they can finally call their own.
In 2025, the first and foremost comes into my mind is “Julee” from SS CREATIONS Tirupur. I felt the story of SS Creations has introduced the signature brand where the reverse arrow is called for roots of embroidery.
Lets Explore Julee - The real computerized embroidery heroes:
The Julee brand is committed to delivering reliable, efficient, and scalable embroidery solutions for modern businesses across the region. SS Creations has a wide range of Julee machines starting from single head embroidery machines – base, mid, and top model with unique features to completely customized upto 42 heads for big commerce trade.
With all the above, I loved the special model for my journey: Single Head computerized embroidery machine MID JL MY2040 – frame size 500*1000mm because it aligned perfectly with the stage of my entrepreneurial journey.
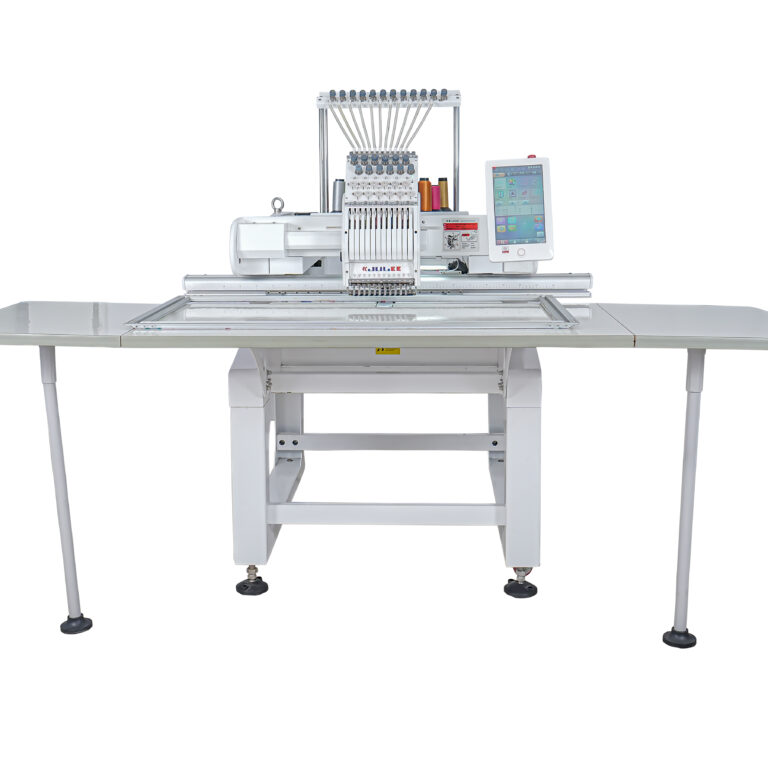
So at this point in my business, I need more than a beginner level machine because my existing orders were increasing, designs were becoming more detailed, and customers expected consistency and quality. The mid level offered me exactly the balance and professional capacity without unnecessary complexity.
The right frame size for the real business Growth
The 500*1000mm frame size was the decisive factor for me. It provides enough working area to handle large embroidery designs such as saree pallus, dupattas, kurti panels, uniforms logos, and boutique orders without constant repositioning. This not only improves efficiency, but also maintains design accuracy for someone growing step by step. The frame size allows flexibility. So the small customized jobs on one day and large commercial orders on another day. so it supports growth without forcing and immediate shift to an industrial scale setup.
Performance That Matches My Daily Workflow
The Single Head MID JL MY2040 delivers stable performance throughout long working hours, which is essential when managing deadlines and multiple client expectations. Its smooth operation, precise stitching, and consistent output help maintain professional standards—something that matters deeply when building a brand reputation.
As a woman entrepreneur, reliability is not optional. I needed a machine that works as hard as I do, without frequent interruptions or technical uncertainty. This machine provides that confidence.
Conclusion: A Machine That Grows With Me
For my journey in 2025, the MID JL MY2040 – 500 × 1000 mm frame size is not just equipment. It is a partner in progress. It represents a thoughtful investment—one that values consistency, creativity, and confidence.
As my business continues to grow, this machine stands as proof that choosing the right technology at the right time can transform effort into excellence—and ambition into achievement.
In 2025, embroidery is not just work.
It is confidence, courage, and a future built with our own hands.
Article by: Ms.Tamilarasi.