How to Digitize Embroidery Designs for Perfect Results

Embroidery digitizing has revolutionized the way designs are created and embroidered on garments, accessories, and home décor. Whether you’re a small business owner, a hobbyist, or someone working in the apparel industry, understanding the art of digitizing embroidery designs is essential for achieving perfect results.

In this guide, we’ll cover everything you need to know about embroidery digitizing, from the basics to advanced tips, ensuring that you can create flawless designs that stand out. By the end, you’ll have a complete step-by-step process, insider strategies, and SEO-friendly knowledge that will help you master embroidery digitizing like a pro.

What is Embroidery Digitizing?

Embroidery digitizing is the process of converting artwork (logos, graphics, or illustrations) into a digital embroidery file that embroidery machines can read. This file instructs the machine how to stitch the design — including stitch type, direction, density, and sequence.

Unlike simply scanning an image, embroidery digitizing requires a skilled combination of software expertise, design understanding, and fabric knowledge.

Why It Matters

  • Ensures professional, crisp, and long-lasting embroidered results.
  • Saves time and reduces thread wastage.
  • Makes designs scalable across different products.
  • Enhances the quality of your brand presentation.

Tools Needed for Digitizing Embroidery Designs

Before diving into the step-by-step process, let’s look at the tools you’ll need:

  1. Embroidery Digitizing Software
    • Examples: Dahao EM Cad, Wilcom, Hatch, Brother PE-Design, Embrilliance, Pulse, and Ink/Stitch.
    • Each software comes with unique features like stitch simulation, editing tools, and file conversion.
  2. Embroidery Machine
    • Popular brands: Julee, Brother, Janome, Bernina, Tajima, and Ricoma.
  3. Artwork or Logo
    • High-resolution files work best (PNG, SVG, AI, or EPS).
  4. Computer/Laptop
    • Ensure you have sufficient RAM and processing power for handling large design files.
  5. Fabric and Stabilizer Samples
    • Different fabrics (cotton, polyester, denim, silk, etc.) respond differently to stitching.

Step-by-Step Guide to Digitizing Embroidery Designs

1. Prepare Your Artwork

  • Always start with a clean, high-resolution image.
  • Simplify the design (avoid overly detailed graphics that may not stitch well).
  • Ensure contrast and clarity for accurate digitizing.

2. Import Design into Digitizing Software

  • Open your embroidery software.
  • Import the artwork in the correct file format (JPEG, PNG, SVG, etc.).

3. Choose the Right Stitch Types

Embroidery isn’t just about “drawing with thread.” You must select appropriate stitch types:

  • Satin Stitch – Ideal for text and borders.
  • Fill Stitch (Tatami Stitch) – Used for larger areas.
  • Running Stitch – Outlines and fine details.

4. Adjust Stitch Density and Direction

  • Proper density prevents fabric puckering or stiffness.
  • Changing stitch direction adds depth and texture.

5. Set Underlay Stitches

Underlay stitches act as a foundation and prevent shifting. Options include:

  • Edge run underlay
  • Zigzag underlay
  • Center walk underlay

6. Optimize for Fabric Type

  • Light fabrics need lower density and softer underlay.
  • Heavy fabrics like denim require higher density.
  • Stretch fabrics demand careful stabilization.

7. Sequence Your Design

  • Digitize in a logical order (background to foreground).
  • Minimize trims and jumps for efficiency.

8. Save and Export in Machine Format

  • Save the master file (editable).
  • Export to specific machine format (DST, PES, EXP, JEF, VP3, etc.).

9. Test Stitch Out

  • Always run a sample on similar fabric before final production.
  • Adjust density, pull compensation, or thread colors as needed.

Common Mistakes to Avoid

  • Using low-resolution artwork → results in poor stitch quality.
  • Overly dense stitches → causes thread breakage and puckering.
  • Ignoring fabric type → design may not sit properly on certain materials.
  • Not testing the design → costly mistakes in production.
  • Skipping underlay stitches → reduces durability and neatness.

Advanced Tips for Perfect Embroidery Digitizing

  1. Use Auto-Digitizing Carefully
    • Many software programs offer auto-digitizing, but manual adjustments always yield better results.
  2. Apply Pull Compensation
    • Compensate for fabric stretch by slightly extending stitch lengths.
  3. Color Matching
    • Use the correct thread shade for brand consistency.
  4. Keep File Sizes Optimized
    • Large, overly complex files can slow machines down.
  5. Layer Wisely
    • Stitch larger filled areas first, then move to fine details.

Best Practices for Professional Results

  • Always maintain a balance between stitch density and design clarity.
  • Create different versions of the same design for different fabric types.
  • Keep learning! Join digitizing communities, forums, and embroidery groups.
  • Stay updated with software upgrades and industry trends.

SEO Keywords to Use Naturally

To make this blog SEO-friendly and rank organically, here are relevant keywords (use them naturally, not forced):

  • Embroidery digitizing
  • Digitizing embroidery designs
  • How to digitize embroidery
  • Best embroidery digitizing software
  • Embroidery machine file formats
  • Digitizing for embroidery step by step
  • Professional embroidery tips
  • Embroidery design conversion
  • Embroidery digitizing services

FAQs About Embroidery Digitizing

1. Can I digitize embroidery designs without software?
No, you’ll need digitizing software to create embroidery-ready files.

2. What file formats are used in embroidery machines?
Common formats include DST, PES, EXP, JEF, VP3, and HUS.

3. How long does it take to digitize a design?
Simple logos may take 20–30 minutes, while complex artwork can take several hours.

4. Is auto-digitizing good enough?
It works for basic designs, but professional results require manual digitizing.

5. Do I need professional digitizing services?
If you’re new or working with bulk orders, outsourcing to a professional digitizer may save time and reduce errors.

Start an Embroidery Business in India? (Step-by-Step Guide)

The embroidery industry in India is booming thanks to the demand for personalized clothing, ethnic wear, and home décor. Whether you want to run a custom embroidery service, hand embroidery shop, or computerized embroidery unit, this guide will walk you through every step.

1. Research the Embroidery Market and Identify Your Niche

Before starting, analyze the embroidery business market in India:

  • Custom apparel embroidery services (t-shirts, caps, uniforms)
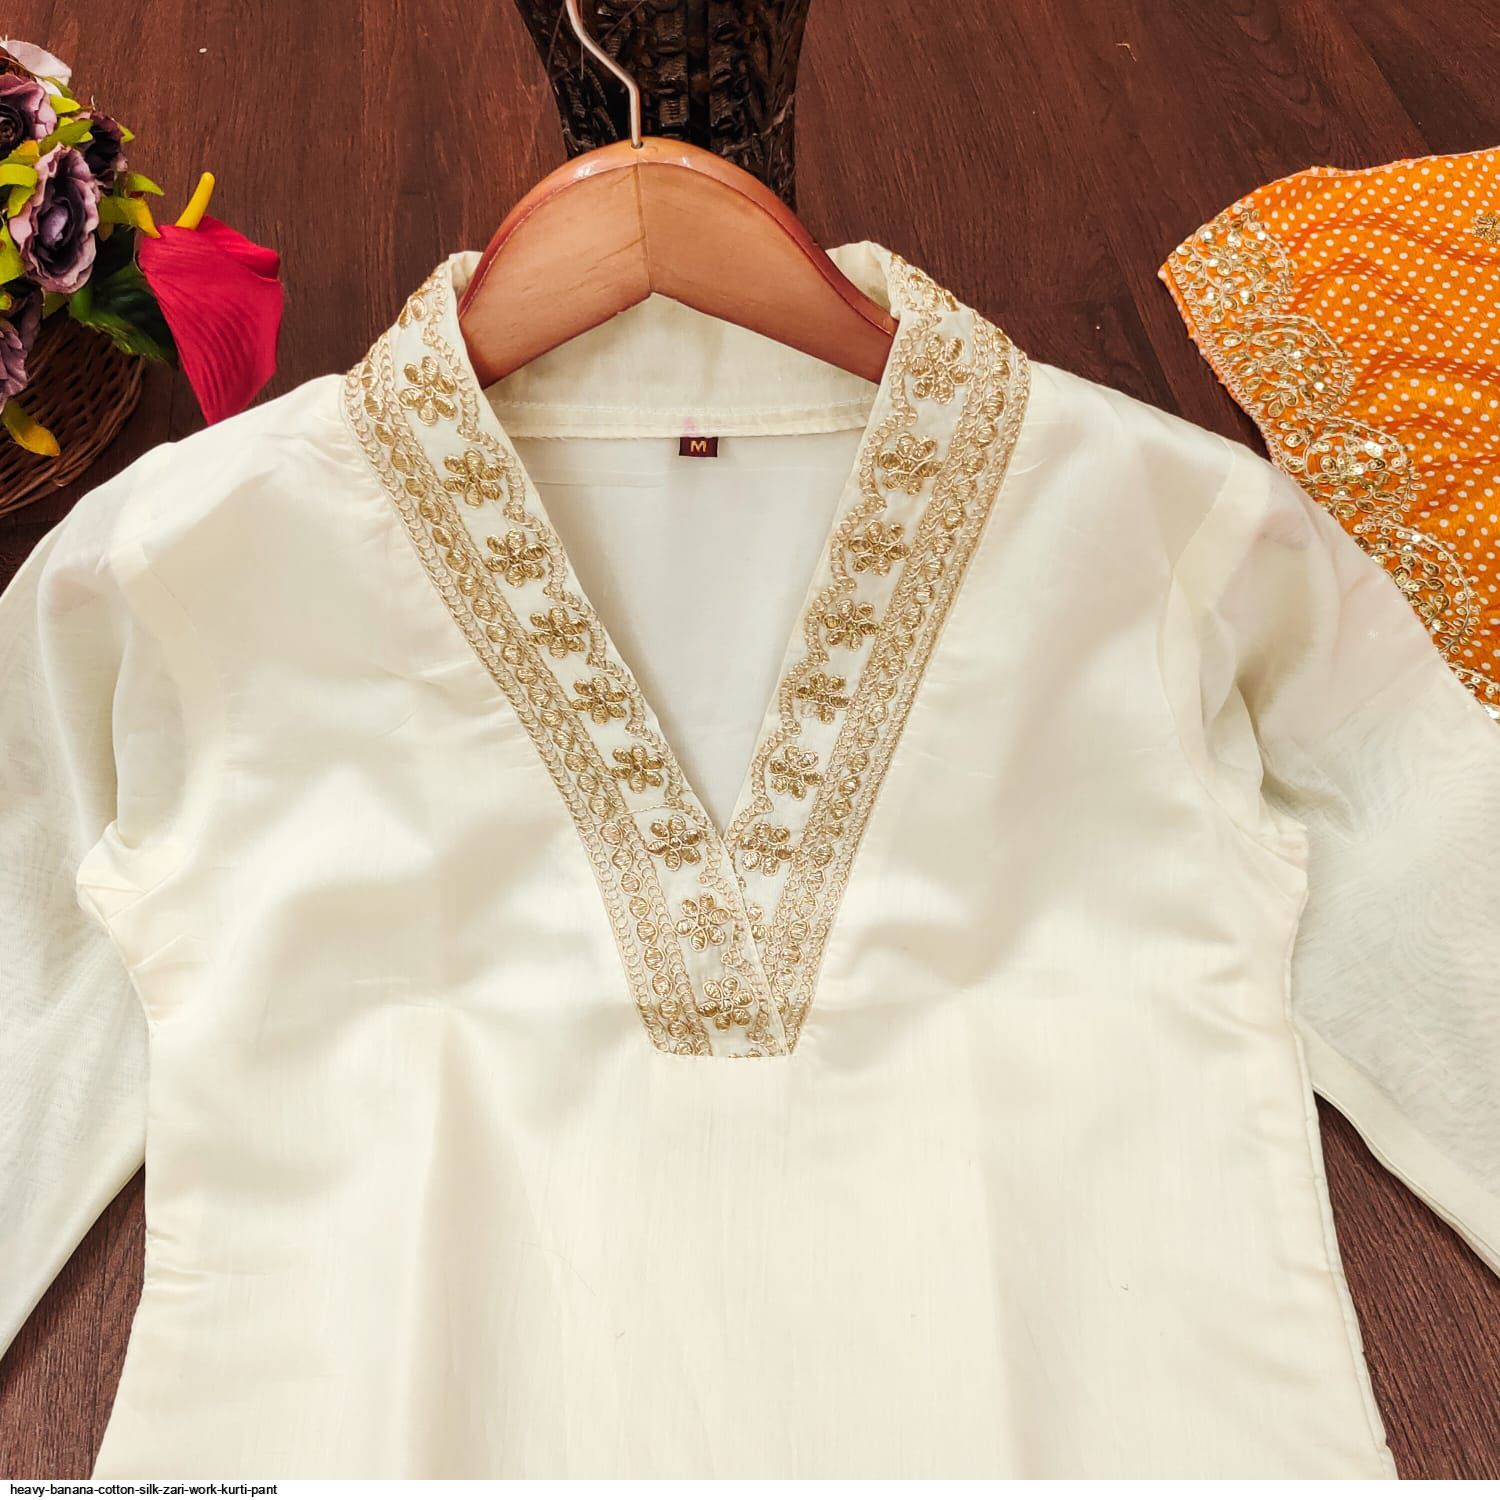
  • Traditional Indian embroidery for sarees, kurtis, lehengas
  • Embroidery for home textiles like curtains, bedsheets, pillow covers
  • Corporate logo embroidery for promotional items

Study competitors’ pricing, styles, and turnaround times to find gaps you can fill.

2. Create a Detailed Embroidery Business Plan

A solid business plan for embroidery services should include:

  • Business name and logo
  • Startup investment and cost estimates
  • Machinery and materials list
  • Pricing structure and packages
  • Marketing and branding strategy

3. Register Your Embroidery Business and Get Licenses

Legal requirements in India may include:

  • Registering as Sole Proprietor, Partnership, or Private Limited Company
  • GST registration for tax compliance
  • Local trade license from municipal authorities

4. Choose the Right Embroidery Machines and Tools

For professional results, invest in commercial embroidery machines:

  • Single-head or multi-head computerized machines
  • Hand embroidery tools for custom orders
  • Quality threads, needles, and stabilizers

Popular brands in India include Brother, Usha, Janome, and Singer.

5. Set Up an Efficient Embroidery Workshop or Home Studio

Whether you operate from home or a rented shop:

  • Ensure good lighting and ventilation
  • Create organized storage for fabrics, threads, and designs
  • Maintain a clean workspace for quality output

6. Build a Strong Embroidery Brand Identity

To stand out in the custom embroidery business:

  • Design a unique, memorable logo
  • Use attractive packaging and labels
  • Showcase your brand style consistently online and offline

7. Set Competitive Pricing for Embroidery Work

Consider:

  • Cost of raw materials and machine maintenance
  • Labor and time taken for each design
  • Complexity and detailing
  • Local market rates for embroidery services

8. Market and Promote Your Embroidery Business in India

Online marketing:

  • Showcase designs on Instagram, Facebook, and Pinterest
  • Use WhatsApp Business for direct customer orders
  • Create a portfolio website or list on platforms like Etsy, Meesho, and Amazon

Offline marketing:

  • Partner with local boutiques and tailors
  • Participate in exhibitions, craft fairs, and wedding expos
  • Offer introductory discounts to attract first customers

9. Maintain Quality Control and Customer Service Excellence

Delivering high-quality embroidery work with on-time delivery builds trust and repeat business. Keep communication clear and be open to custom design requests.

10. Scale and Expand Your Embroidery Business

Once you have consistent orders:

  • Hire skilled embroidery artisans
  • Upgrade to industrial embroidery machines for bulk work
  • Explore export opportunities for Indian embroidered products

How to Choose the Perfect Embroidery Machine for Sarees, Kurtis & More (2025 Guide)

In India, embroidery is more than just decoration — it’s an art form woven into the culture. From the intricate zari work on a silk saree to the delicate floral patterns on a kurti, embroidery transforms ordinary fabrics into stunning pieces of wearable art.
If you are a small business owner, boutique owner, or home-based entrepreneur looking to expand your offerings, investing in the right embroidery machine is a decision that can define your success.

But with so many options in the market, how do you choose the perfect embroidery machine for sarees, kurtis, and other ethnic garments? This guide will walk you through everything you need to know — and why Julee Embroidery Machines have become a trusted choice for small businesses across India.

Why Your Choice of Embroidery Machine Matters

Embroidery machines aren’t a one-size-fits-all purchase. The wrong machine could limit your creativity, slow down production, and even lead to wasted materials. For example:

  • Saree embroidery often requires a large hoop size and the ability to handle delicate fabrics like silk, chiffon, or georgette.
  • Kurti embroidery demands precision for neckline and yoke patterns.
  • Dupattas, blouses, and kidswear need versatility in design and stitch types.

Choosing the right machine means you can work faster, maintain consistent quality, and take on larger or more diverse orders — directly increasing your profit margins.

Understand Your Embroidery Needs

Before buying, think about the type of garments you plan to focus on:

  1. Sarees
    • Require wide hoop capacity for pallu and border work.
    • Ability to handle intricate designs with metallic threads and fine detailing.
  2. Kurtis
    • Often need medium hoop sizes for front, neckline, and sleeve embroidery.
    • Popular designs include florals, paisleys, and modern abstract patterns.
  3. Other Garments
    • Blouses and dupattas may require a combination of small and large frames.
    • Kidswear may need softer stitching and colorful, playful motifs.

By understanding your garment focus, you can narrow down your machine choices more effectively.

Key Features to Look For

When shopping for an embroidery machine in India, especially for traditional garments, these are the must-have features:

  • Hoop Size & Frame Flexibility – A machine that offers both large and small hoop sizes ensures you can work on everything from saree pallus to kurti necklines.
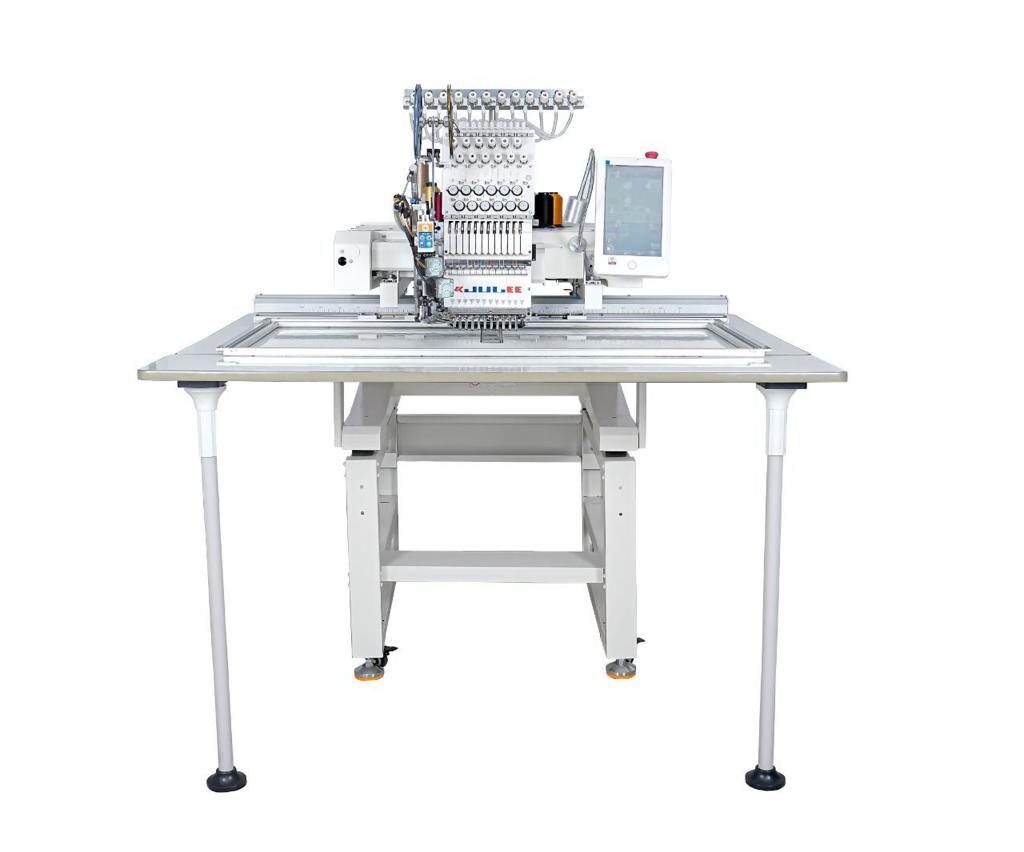
  • Needle Count – Multi-needle machines (like the Julee single head embroidery machine models) allow you to run multiple colors at once, saving time on big orders.
  • Design Input Options – USB ports or memory card slots let you import custom designs.
  • Speed (RPM) – Higher stitches per minute mean faster delivery without compromising quality.
  • Fabric Compatibility – Ensure the machine can handle both heavy silks and delicate chiffons.
  • Ease of Use – Touchscreen panels, built-in design editing, and auto-threading make a big difference for small business productivity.
  • After-Sales Support – Training, spare parts availability, and service response time matter as much as the machine itself.

Types of Embroidery Machines

Single Head Embroidery Machines

Compact, easier to maintain, and suitable for a variety of designs.

Ideal for startups or small-scale boutiques.

Multi-Head Embroidery Machines

Perfect for businesses fulfilling wholesale orders or working with multiple fabrics simultaneously.

Best for higher production volumes.

Why Julee Embroidery Machines Stand Out

When it comes to sarees, kurtis, and more, Julee Embroidery Machines have carved a strong reputation for affordability, reliability, and performance.

1. Julee Single Head Embroidery Machine

  • Perfect for: Startups, boutique owners, and home-based businesses.
  • Key Features:
    • High-speed stitching for quick order completion.
    • Multiple hoop sizes for different garment needs.
    • USB design import for unlimited creativity.

2. Julee Multi Head Embroidery Machine

  • Perfect for: Medium to large-scale manufacturers.
  • Key Features:
    • Multi synchronized heads for bulk production.
    • Built to run long hours without overheating.
    • Suitable for multi-color embroidery without constant re-threading.

Budget & ROI Considerations

An embroidery machine is an investment — not just an expense. Even a small boutique can recover costs within months if the right machine is chosen. Julee machines are priced to give maximum return on investment through:

  • Lower maintenance costs.
  • Fast production speed.
  • Long-lasting durability.

Maintenance Tips for Longevity

  • Clean and oil your machine regularly.
  • Use genuine parts and quality threads.
  • Store in a dust-free environment.
  • Get periodic servicing from authorized technicians.

Ready to take your embroidery business to the next level?
👉 Visit JuleeEmbroidery.in to explore models, check prices, and request a free demo today.

Multi Head vs Single Head Embroidery Machines: Which is Right for Your Business?

Choosing between a multi head embroidery machine and a single head embroidery machine is a major decision for any embroidery business. The right choice can improve your production speed, cost efficiency, and profit margins. In this guide, we’ll compare both options so you can confidently pick the one that matches your business goals.

1. Single Head Embroidery Machines

Definition:
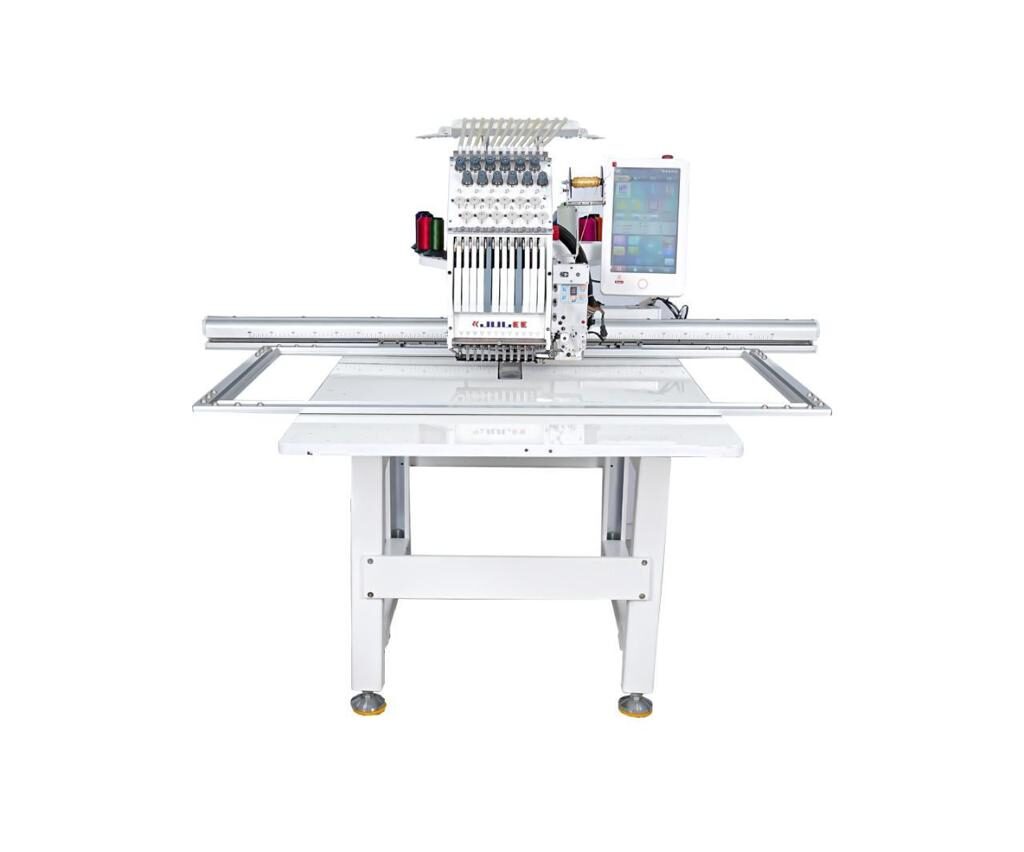
A single head embroidery machine has one embroidery head that stitches one garment at a time.

JL TM – 2040 is top most selling product in Julee. There is no comparison for this product.

Best For:

  • Home-based embroidery businesses
  • Small-batch custom orders
  • Limited workspace setups
  • Lower investment cost — ideal for startups
  • Easy to operate — perfect for beginners
  • Flexible for sampling and one-off designs

2. Multi Head Embroidery Machines

Definition:
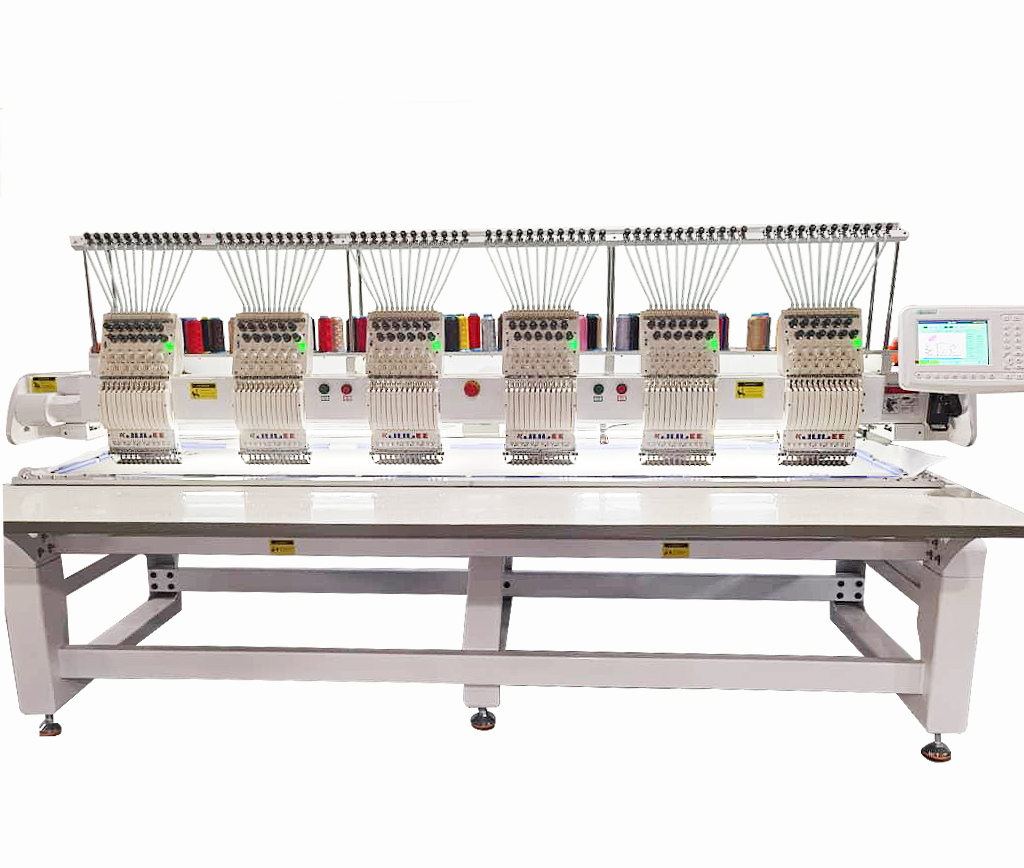
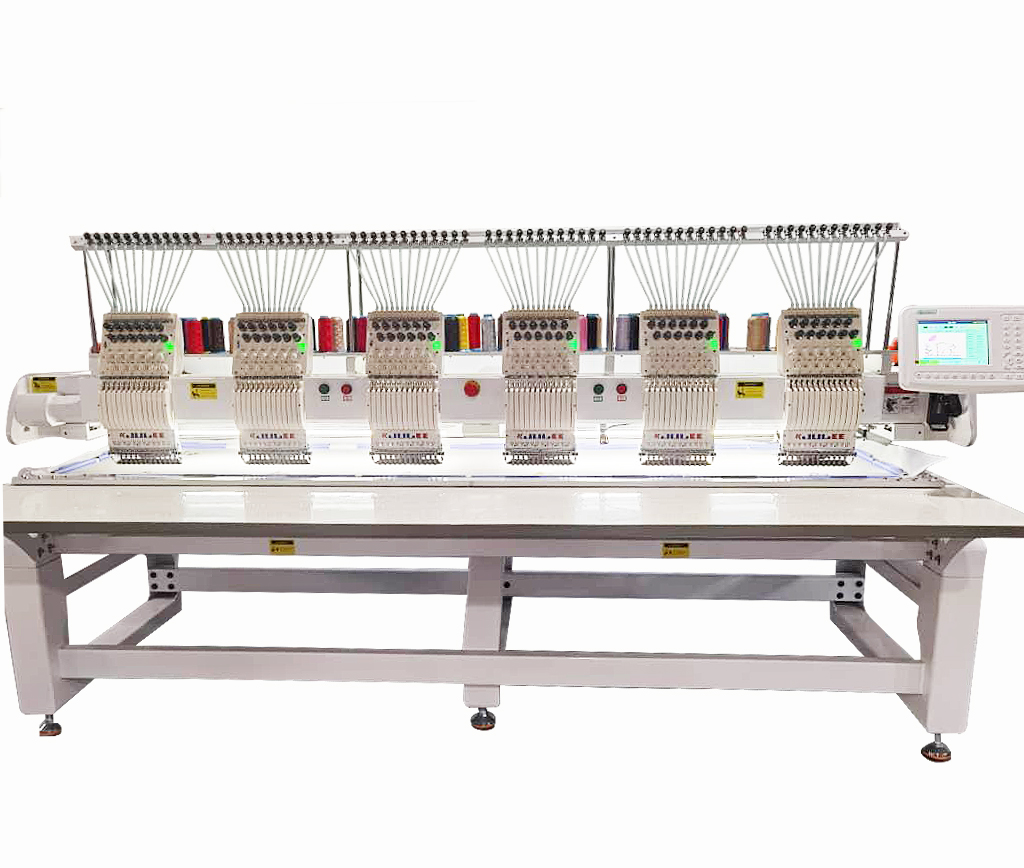
A multi head embroidery machine features multiple heads, each working simultaneously. For example, a 6-head machine can embroider six garments at once.

One of the finest and better durable for garments is our Julee Multi head embroidery machine. Easy operatable and high efficiency in multi purpose.

Best For:

  • Established embroidery businesses
  • High-volume production
  • Consistent bulk orders
  • High production efficiency — complete large orders faster
  • Lower labor cost per item
  • Consistent quality across multiple garments

For more products – Visit our page

3. How to Choose the Right Embroidery Machine for Your Business

Before deciding, ask:

  • What’s my average order size?
  • Do I need flexibility or high-volume speed?
  • What’s my budget and available space?

Quick Recommendation:

  • Startups & custom-order businesses → Single Head Machine
  • Scaling businesses with large, consistent orders → Multi Head Machine

3. Key Differences Between Multi Head and Single Head Machines

FeatureSingle HeadMulti Head
Production SpeedLowHigh
Investment CostLowHigh
FlexibilityHighLow
Best ForSmall ordersBulk orders

FAQs: Multi Head vs Single Head Embroidery Machines

1. Which is better: a multi head or single head embroidery machine?
It depends on your business needs. A single head embroidery machine is ideal for small orders, sampling, and custom work, while a multi head machine is better for high-volume, consistent orders.

2. What is the main advantage of a multi head embroidery machine?
The biggest advantage is speed — multi head machines can produce multiple garments at the same time, reducing turnaround time and lowering labor costs per piece.

3. Are single head embroidery machines good for business?
Yes, especially for startups or small embroidery shops. They require a smaller investment, are easier to operate, and allow for flexibility in handling varied orders.

4. How many garments can a multi head embroidery machine make at once?
It depends on the number of heads. For example, a 6-head machine can embroider six garments simultaneously with the same design.

5. When should I upgrade from a single head to a multi head embroidery machine?
Consider upgrading when your order volume increases, you’re regularly producing bulk orders, or you want to reduce production time to meet growing demand.

Your embroidery machine is the backbone of your production. Whether you choose a single head or multi head embroidery machine, ensure it aligns with your order volume, budget, and long-term growth strategy. The right choice will save you time, reduce costs, and boost profits.

Julee Embroidery Machines: High‑Performance Single & Six Head Options

Introduction

Julee Embroidery Machines, based in Tirupur, Tamil Nadu, stands at the forefront of industrial-grade embroidery technology in India. Specializing in both single head and six head embroidery units, Julee delivers performance, reliability, and precision for both commercial workshops and hobbyists alike Instagram+8juleeembroidery.in+8juliembroidery.in+8Printful+3juliembroidery.in+3raven793.rssing.com+3.

1. Innovative Technology & Superior Build

Featuring advanced computer‑controlled systems, Julee machines are engineered with components like the PC‑104 DM & PTM SoC vortex 86DX, offering seamless automation and high-speed stitching accuracy embroiderymachine.wixsite.com. Whether it’s home projects or factory demands, Julee’s technology supports efficient production.

2. Versatile Capacity: Single vs Multi‑Head

  • Single Head Models (400 × 600 mm): Ideal for custom patches, badges, and small to mid-scale embroidery jobs.
  • Six Head Models: For larger production runs, these multi-head options support synchronized stitching across multiple garments, boosting output and consistency juliembroidery.injuleeembroidery.in.

3. Trusted in the Heart of Textiles: Tirupur

Located in the textile hub of Tirupur, Julee is perfectly positioned to serve a wide range of apparel manufacturers and small-scale design studios across Tamil Nadu and India. Their strong regional network ensures prompt support and ease of access to spare parts Instagram+10juleeembroidery.in+10juleeembroidery.in+10.

4. Extensive Design Libraries & Workflow

With over 3,000 built-in aesthetic and industrial embroidery designs spanning floral, monogram, and corporate styles, Julee machines make customization effortless—supported by professional-grade workflow management features YouTubeYouTube.

5. Real Use Case: Badge & Logo Embroidery

Users have showcased badge embroidery capabilities using the single head Julee machine, highlighting clean stitching, vibrant color transitions, and precision—that stands up for corporate and identity-driven applications

The Benefits of Single-Head Embroidery Machines: A Smart Investment for Small Businesses

In the dynamic world of textile customization, embroidery machines have become essential tools for businesses that want to offer personalized, high-quality products. Among the many types available, single-head embroidery machines stand out for their versatility, efficiency, and value—especially for startups, small businesses, and home-based entrepreneurs.

This article explores the key benefits of single-head embroidery machines and why they continue to be a preferred choice across various sectors of the garment and promotional product industries.


1. Compact and Space-Efficient Design

One of the most significant advantages of single-head embroidery machines is their compact size. Unlike multi-head machines that require large dedicated spaces, single-head models are ideal for small workshops, home studios, and retail environments. Their portability also allows easy relocation, making them perfect for pop-up events or trade shows.


2. Cost-Effective Investment

Starting an embroidery business or expanding production doesn’t always require a heavy investment. Single-head machines are considerably more affordable than multi-head alternatives. They offer an excellent entry point for new entrepreneurs without compromising on quality or features.

Additionally, maintenance and operating costs are generally lower, which helps businesses keep overhead expenses in check.


3. High Versatility and Functionality

Modern single-head embroidery machines are equipped with advanced features that rival those found in multi-head systems. These include:

  • Multiple needle options (often 12-15 needles)
  • Touchscreen interfaces
  • USB and network connectivity
  • Automatic thread trimming and color change

This allows users to work on a wide range of materials and garment types—from caps and shirts to bags and jackets—without switching machines.


4. Ease of Use and Learning Curve

For newcomers to the embroidery business, single-head machines are user-friendly and often come with intuitive software. The simplified interface allows for faster learning, making it easier for staff or owners to get up to speed. Many models offer built-in tutorials or support through mobile apps, which enhances user confidence and reduces training time.


5. Customization and Small-Batch Flexibility

Single-head embroidery machines are perfect for businesses that focus on small-batch production or custom, made-to-order work. Whether it’s personalizing individual garments or running limited edition product lines, these machines offer the flexibility needed to accommodate diverse customer requests quickly and efficiently.


6. Low Downtime and Quick Setup

Since there is only one head to manage, setup times are shorter, and troubleshooting is more straightforward. This means less downtime during operation, especially when changing designs or thread colors. For businesses handling multiple, varied jobs daily, this can lead to increased productivity and quicker turnaround times.


7. Scalability and Business Growth

A single-head embroidery machine can be the foundation of a growing business. Many companies start with one machine and gradually scale operations by adding more units as demand increases. This modular growth strategy minimizes risk while allowing for steady expansion based on revenue and market needs.

Traditional Embroidery Designs Reimagined with Modern Embroidery Machines…

Introduction: Tradition Meets Technology

Traditional embroidery has long been revered for its artistic, cultural, and symbolic value. From ancient Indian zardozi to Eastern European cross-stitch, every stitch holds a narrative. Today, embroidery machines are playing a pivotal role in preserving and evolving these age-old designs—bringing precision, scalability, and new life to traditional motifs.


What Are Traditional Embroidery Designs?

Traditional embroidery designs refer to culturally rooted patterns and stitch techniques passed down through generations. These motifs often reflect local flora, fauna, beliefs, and customs.

Examples include:

  • Japanese Sashiko: Functional and decorative, with geometric and repetitive patterns.
  • Hungarian Matyó: Colorful floral designs rich in symbolism.
  • Middle Eastern Tatreez: Palestinian cross-stitch with deeply symbolic tribal motifs.

How Embroidery Machines Preserve Traditional Designs

Modern embroidery machines can replicate hand-stitched patterns with extraordinary detail and accuracy. Here’s how it works:

1. Digitization of Designs

Using specialized software such as Wilcom, Hatch, or Brother PE-Design, traditional motifs are converted into digital embroidery files (DST, PES, etc.). This includes:

  • Stitch type selection (e.g., satin, fill, running stitch)
  • Direction and density of stitches
  • Layering sequence and thread color management

2. Precision Execution

The machine interprets the digital file to stitch each element exactly as designed. This ensures:

  • Uniform quality
  • Repetition of patterns at scale
  • Faster production without artistic compromise

Benefits of Machine-Made Traditional Embroidery

Cultural Preservation

Digitized embroidery files act as a cultural archive. They safeguard traditional designs from extinction and make them accessible for future generations.

Efficiency with Authenticity

Machine embroidery dramatically reduces production time while maintaining the integrity and aesthetics of original hand-stitched work.

Commercial Viability

From fashion designers to home textile brands, businesses benefit from using traditional motifs that appeal to global markets, made efficiently with machines.

Customization at Scale

Digitized designs can be easily resized or modified without altering the cultural style—ideal for customizing apparel, accessories, or home décor items.


Ethical Considerations in Machine Embroidery

With the ability to replicate comes the responsibility to respect cultural ownership. Many traditional designs have deep roots in indigenous and local communities. Ethical digitization should include:

  • Community collaboration
  • Proper attribution
  • Fair compensation for original artists or cultural custodians

Industries Embracing Machine-Embroidered Tradition

  1. Fashion & Apparel
    • Bohemian collections
    • Ethnic-inspired fashion
    • Wedding & ceremonial attire
  2. Home Textiles
    • Embroidered cushions, drapes, and linens
  3. Corporate & Promotional
    • Cultural motifs in branded apparel or souvenirs
  4. Religious & Ceremonial
    • Church vestments, religious garments, and traditional robes

traditional embroidery designs, machine embroidery, digitized embroidery patterns, cultural embroidery motifs, embroidery machines, heritage textile preservation

What Every Embroidery Works Website Must Have: A Guide to Stitching Up Online Success

In today’s digital-first world, having a visually appealing and functional website is critical—especially for embroidery businesses that thrive on aesthetics and craftsmanship. Whether you’re offering custom embroidery services, selling embroidered goods, or running embroidery workshops, your website is your digital storefront. Here’s what your embroidery works website needs to truly shine:

1. High-Quality Visuals and Portfolio

Embroidery is a visual art, and your website should showcase it beautifully.

  • Include a professional photo gallery of your past works
  • Use close-ups to highlight stitching detail and texture
  • Organize the gallery by category (e.g., apparel, home decor, monogramming)

Bonus Tip: Consider adding before-and-after images or short time-lapse videos of projects in progress.

2. Clear Service Descriptions

Visitors should know exactly what you offer at a glance. Use easy-to-read sections to describe:

  • Types of embroidery (machine, hand, custom digitizing)
  • Products available for customization (shirts, hats, bags, etc.)
  • Turnaround times and pricing (or a way to request a quote)

Pro Tip: A downloadable PDF brochure or printable order form can be helpful for B2B clients.

3. Custom Order Form or Design Tool

If you accept custom orders, make the process intuitive:

  • Include an easy-to-use order form
  • Allow file uploads for customer logos or artwork
  • Integrate a simple embroidery preview tool, if possible

This reduces back-and-forth communication and builds customer confidence.

4. Testimonials and Reviews

Social proof matters. Include:

  • Customer testimonials with photos (if possible)
  • Star ratings or case studies of larger projects
  • Links to your Google or Etsy reviews

Encouraging happy customers to share their experiences builds trust.

5. E-Commerce Functionality (if selling products)

If you sell ready-made embroidered items, you’ll need:

  • An online shop with product filters (e.g., by color, theme, item type)
  • Secure checkout and payment options (credit card, PayPal, etc.)
  • Clear shipping and return policies

Bonus: Highlight seasonal or best-selling items on the homepage.

6. About Page with a Personal Touch

People connect with people. Your About page should:

  • Tell the story behind your embroidery business
  • Introduce your team (even if it’s just you!)
  • Include behind-the-scenes photos or videos of your creative process

7. Blog or Tips Section

A blog can help with SEO and show off your expertise. Great topics include:

  • Embroidery care tips
  • DIY embroidery tutorials
  • Gift ideas featuring your products
  • Customer spotlights

This keeps your website fresh and engaging.

8. Mobile-Responsive Design

Your website must look great on phones and tablets. Key features include:

  • Fast load times
  • Easy navigation with tap-friendly menus
  • Click-to-call and map integration for mobile users

Most customers will find you on mobile—don’t lose them to poor design.

9. Contact and Social Media Integration

Make it easy for people to connect:

  • Include a contact form and your email/phone number
  • Link your Instagram, Facebook, Pinterest, or TikTok pages
  • Embed your latest social media posts for added visual flair

10. SEO and Local Optimization

Lastly, if you want to be found, you need:

  • Clear keywords (e.g., “custom embroidery in [City Name]”)
  • A Google Business Profile
  • Local backlinks and directory listings

Regular updates and blog content also help search engines rank your site higher.


Whether you’re a solo stitcher or a full-service embroidery shop, having a thoughtful, user-friendly website can turn casual browsers into loyal customers. By blending creativity with functionality, your website will reflect the craftsmanship and care you put into every thread.

🧵✨ Ready to stitch your brand into the web? Make sure your site is embroidered with the essentials.

The Perfect Logo Sizes for Embroidery: A Complete Guide

When it comes to embroidery, size matters—especially for your logo. A beautifully designed logo can lose its charm if it’s not sized correctly for embroidery. Whether you’re branding uniforms, hats, bags, or promotional items, understanding the right logo sizes ensures a crisp, legible, and professional finish. In this guide, we’ll break down the ideal logo dimensions for various embroidery applications and share tips to optimize your design.


Why Logo Size Matters in Embroidery

Embroidery isn’t like printing. Instead of ink, you’re working with thread—and thread has limitations. Small details, thin lines, and tiny text can easily become illegible or distorted if the logo is too small or too complex. Getting the size right not only preserves your brand’s identity but also helps reduce production issues and costs.


Standard Logo Sizes for Common Embroidered Items

Here’s a quick reference guide for the most common embroidered items:

1. Left Chest Logo (Shirts, Jackets, Uniforms)

  • Recommended Size: 3.5″ wide x 2″ tall (approx.)
  • Maximum Size: 4″ wide x 2.25″ tall
  • Tips: Keep text minimal and bold. Thin scripts or serifs may not translate well.

2. Hat or Cap Logos

  • Recommended Size: 2.25″ tall x 4.5″ wide (max area on the front panel)
  • Tips: Avoid overly wide or tall logos. Hats have a curved surface, so designs must be simple and centered.

3. Sleeve or Cuff Logos

  • Recommended Size: 1″ to 1.5″ tall x 2.5″ wide
  • Tips: Perfect for small icons or short brand names.

4. Back of Jacket Logos

  • Recommended Size: 10″ to 12″ wide (up to 12” x 12” depending on the hoop and machine)
  • Tips: You have more room here—use bold, scalable designs that are impactful from a distance.

5. Tote Bags or Backpacks

  • Recommended Size: 4″ x 4″ or up to 5″ x 5″
  • Tips: Consider the fabric weight—thicker materials need simpler, bolder embroidery.

Design Considerations for Embroidery

  1. Simplify Details: Fine details can get lost in small logos. Simplify complex graphics before digitizing.
  2. Use Bold Fonts: Thin fonts don’t embroider well. Go for blocky, sans-serif fonts.
  3. Minimum Letter Height: Aim for letters no smaller than 0.25 inches tall.
  4. Avoid Gradients: Embroidery can’t reproduce gradients. Stick to solid colors.
  5. Color Limitations: Most embroidery machines support up to 12-15 colors. Plan accordingly.

Digitizing: The Key to a Perfect Stitch

Before any logo can be embroidered, it must be digitized—converted into a stitch file format. A skilled digitizer will optimize your logo for thread count, stitch direction, and fabric type. Be sure to work with professionals who understand your branding needs and embroidery constraints.